Hello gardener!
How exciting is it that we are talking about seeds again!
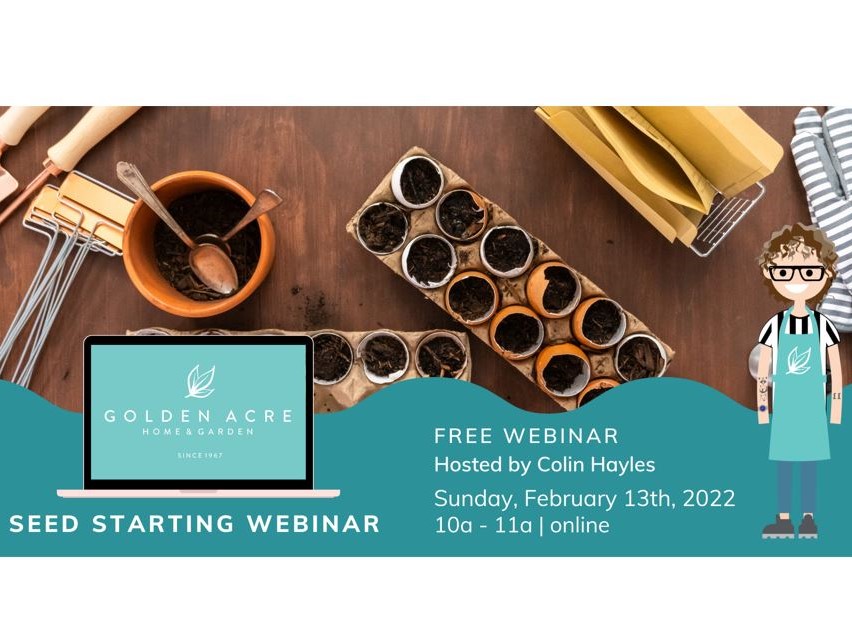
Thank you to everyone who came and hung out with us at our first webinar of the year! We appreciate your patience while we worked through some technical issues, and appreciate your enthusiasm and questions! If you would like a copy of Colin’s PowerPoint Presentation, it’s here:
GA Seed Starting Webinar PowerPoint 2022
We have a helpful seed starting guide now available on our website: Calgary Seed Starting Guide
There is an encore presentation of today’s webinar now available on our YouTube channel. You’ll also find more helpful gardening videos!
Let’s recap some of the important points from today
The Parts of a seed
- Seed Coat: Acts as protection
- Food Store: The essential proteins, oils, and cards to seed requires to grow
- Seed Embryo: The DNA of the plant to grow leaves, roots, and stem.
Germination
- Seed development – Seed coat breaks down giving way to the first signs of development.
- What you’ll need:
- Seeds
- We carry West Coast Seeds, McKenzie Seeds, and Renee’s Garden Seeds
- Growing Containers: Trays/Inserts, Pots, Kits
- No right or wrong answer here. Whatever works with your space.
- Growing Medium: Seed Starting Soil
- Heat Source: Heat Mats
- Seeds require warmth, or energy, to produce the chemical reaction required to germinate. A heat mat, on 24/7 until seedlings are thriving, is always a good addition to your setup.
- Moisture
- Damp enough to activate the seed, but not too wet that your seed will suffocate. There needs to be room for gas exchange to happen.
- Light: GrowLights
- Light enables photosynthesis, essential for plant growth. If there’s not enough light present, your plant may start to suffer or stretch. If there’s too much light, your seedling could burn. Applying a growlight 8-12 hrs a day will promote healthy growth.
- Suitable area
- One location that is warm, sunny, clean, and not too drafty.
- Isolate seeds away from houseplants that may carry pests. Your seedlings won’t be able to recover as well as your established houseplants will.
- Labels
- Label your seeds as you plant them. Trust me, you won’t remember what they are!
- Seeds
Planting Seeds
- Prep area and clean everything including trays and tools.
- Layout containers
- Add soil, firm but not compressed down.
- Get seeds ready to plant.
- Plant at the required depth found on the back of the seed package.
- Add moisture (spray bottle advised)
- Move onto heat mat and label to avoid confusion later on.
Tips & Tricks
- Do not fertilize.
- This is done at the transplanting stage. Use an all-purpose fertilizer, or this seed starting one. Make sure to follow the instructions carefully. Don’t over fertilize!
- Move lighting accordingly.
- Monitor seedlings as they grow to ensure they are maturing evenly.
- Plant more than you need.
- Don’t count your chickens before they’ve hatched, right? Same with seeds. Some won’t work out, and that’s okay. Plant more than you need and thin out later.
- If needed use a fan for better air circulation.
- Our goal here is to replicate the conditions these plants would normally receive outdoors. A little fan will strengthen their stems and leaves so they aren’t too shocked when they get exposed to the great outdoors later on.
- Don’t become too attached. Accidents happen.
- Colin dropped one last year… it’s okay! Don’t be too hard on yourself!
- Label everything, do not trust memory.
- Watering will change as plants grow, adapt accordingly.
- Monitor how your seedlings are doing on a daily basis to ensure they’re happy and healthy.
As always, if you have any questions, we’re here for you! Please feel free to reach out to us on social media, by phone, or by coming into the store.
Happy gardening!
Brandi

